Building a retro gaming handheld
Soldering and assembling a Null 2 — a DIY kit for a retro gaming handheld powered by a Raspberry Pi Zero 2 W.
The Null 2 is a DIY kit for a retro gaming handheld powered by a Raspberry Pi Zero 2 W, which means most of its tools and software are open source. It runs RetroPie, a custom OS built on Debian for running emulators, and the Pi Zero 2 W is fast enough to run up to some PlayStation 1 games. I finally got around to finishing my build.
What’s in the kit:
- 1 × Null 2 PCB
- 2 × SMD buttons
- 3 × right-angled buttons
- 2 × right-angled switches
- 1 × set of rubber membranes
- 1 × TP4056 charger (the blue board)
- 1 × 3R9 SMD resistor
- 1 × 3.2″ ili9341 screen
- 1 × PAM8403 (the green board)
- 1 × PCM5102A (the headphone board) with headers
- 2 × speakers
- 4 × M3 20 mm acrylic nuts and bolts
What you add:
- 1 × Raspberry Pi Zero 2 W — nearly impossible to find at retail in 2022, I tracked stock with rpilocator.com
- 1 × 1000 mAh 503450 LiPo battery
- 1 × set of 3 mm clear acrylic case parts
- 1 × set of 5 mm clear acrylic case parts
- 1 × micro SD card
Tools and materials you’ll need: a soldering iron and station, double-sided tape, Kapton tape, 1 mm foam tape (optional), masking tape, a multimeter, flush cutters, acrylic solvent (e.g. Weld-on 4), a piece of single-core wire, and sandpaper.
Soldering
Soldering the Raspberry Pi to the Null 2 PCB was tough since I’d had minimal exposure to it before. Definitely recommend getting a nicer soldering iron and station, and good solder.
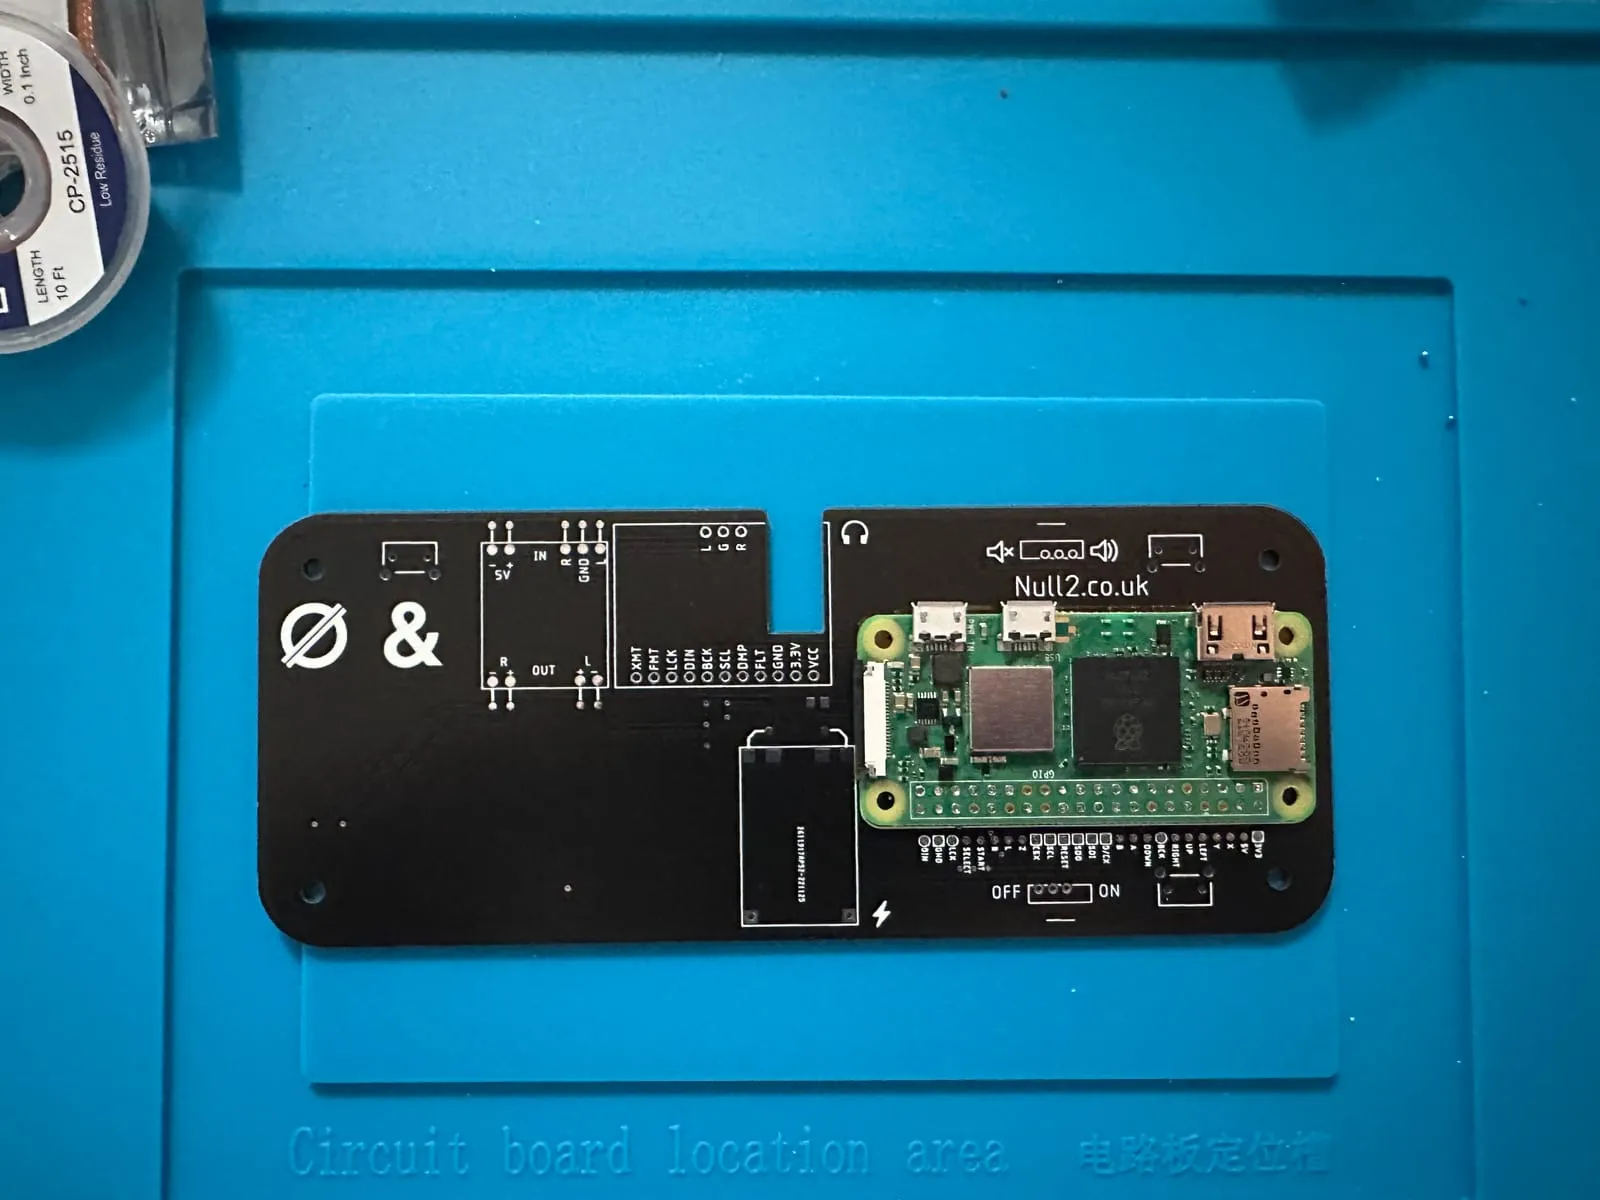 The Null 2 PCB with the Pi Zero and no other components
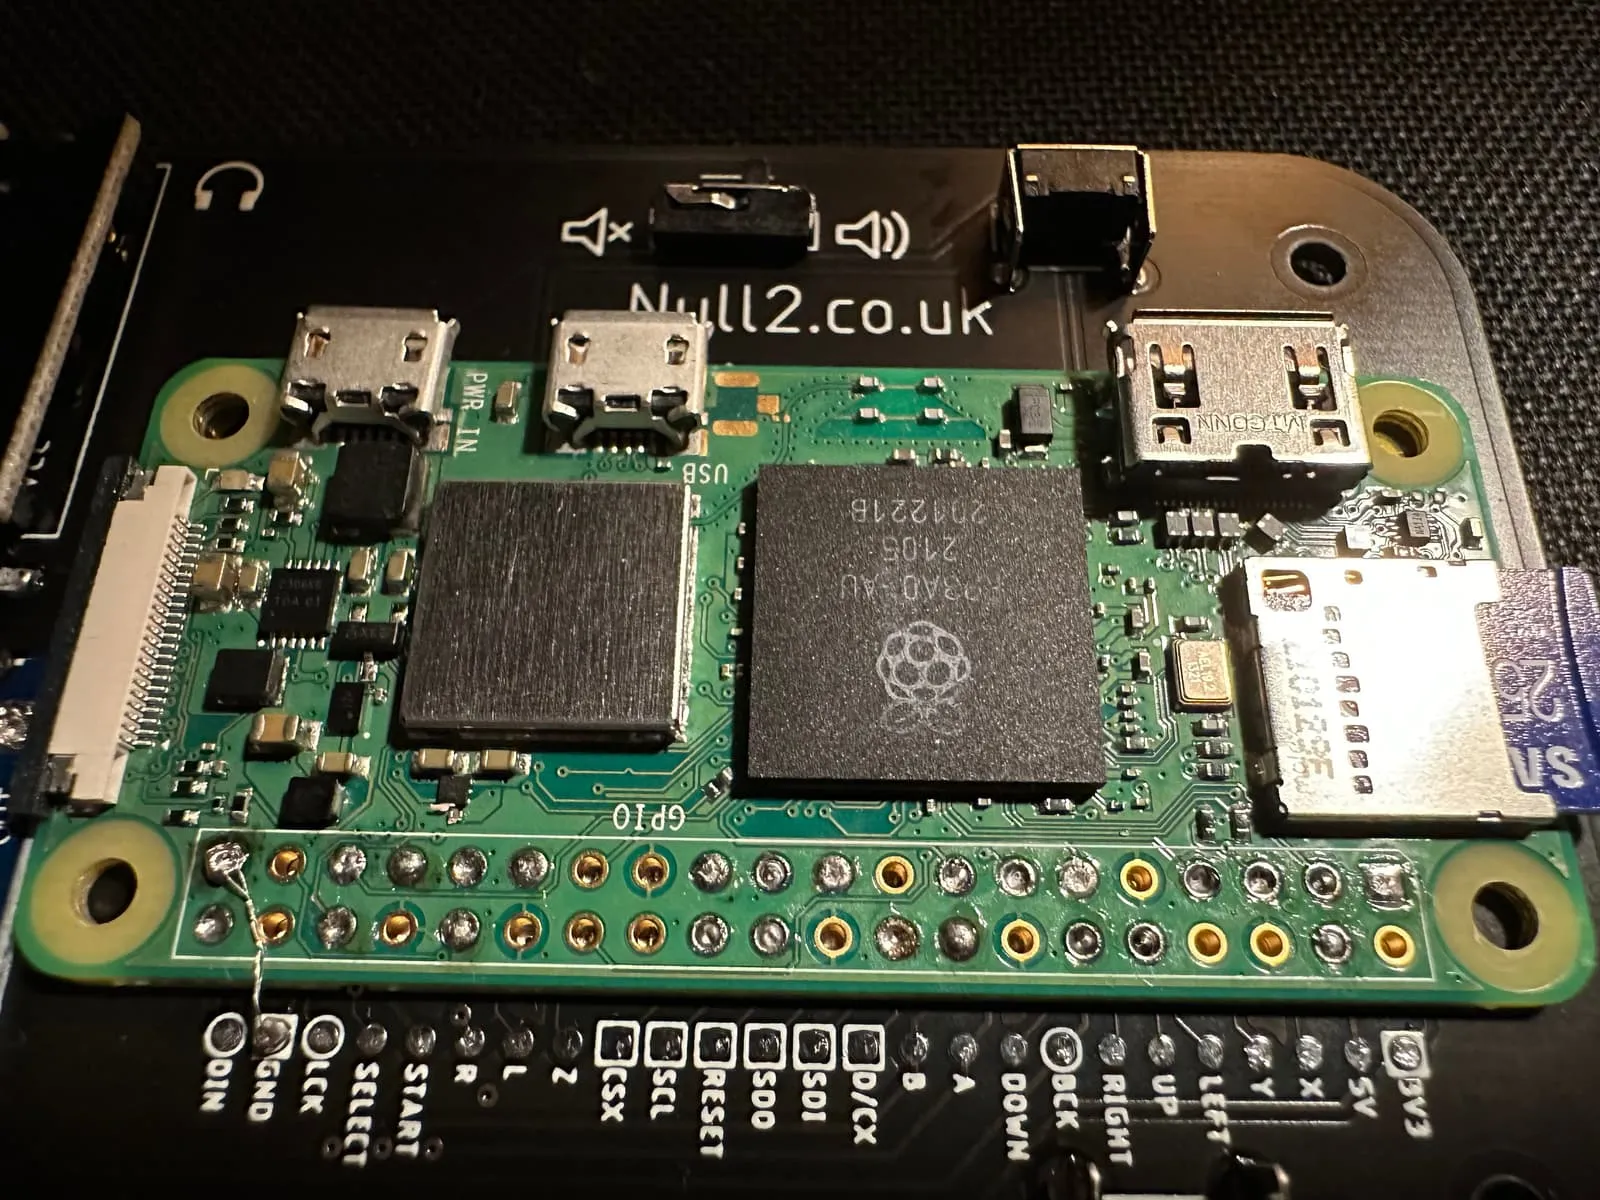 Soldering the PCB and Pi together
This step was really difficult and you can see how bad most of the solder joints were. I was unable to get a connection on the ground pin, but was able to solder a wire to the test pad to resolve the issue. In the end, I reflowed most of the connections, which fixed the ground issue as well and let me remove the sketchy wire.
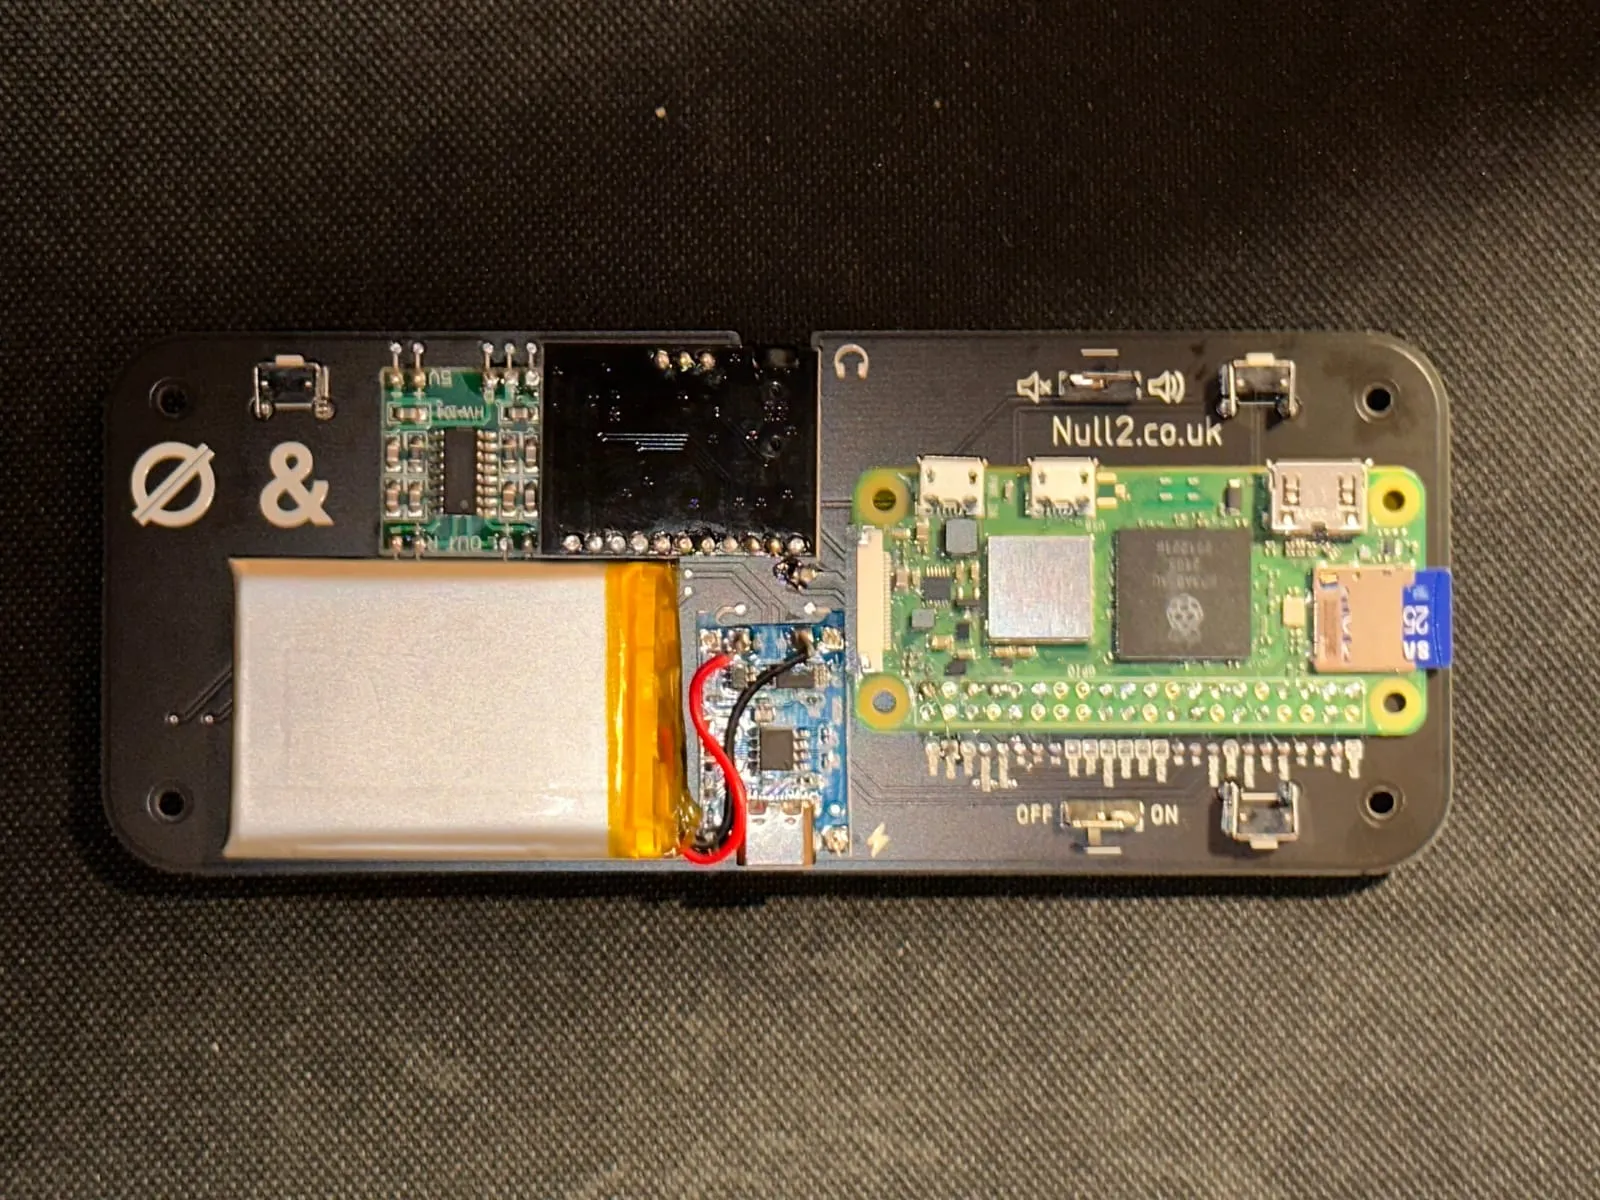 Null 2 with all the components soldered
The rest of the components were relatively straightforward to solder.
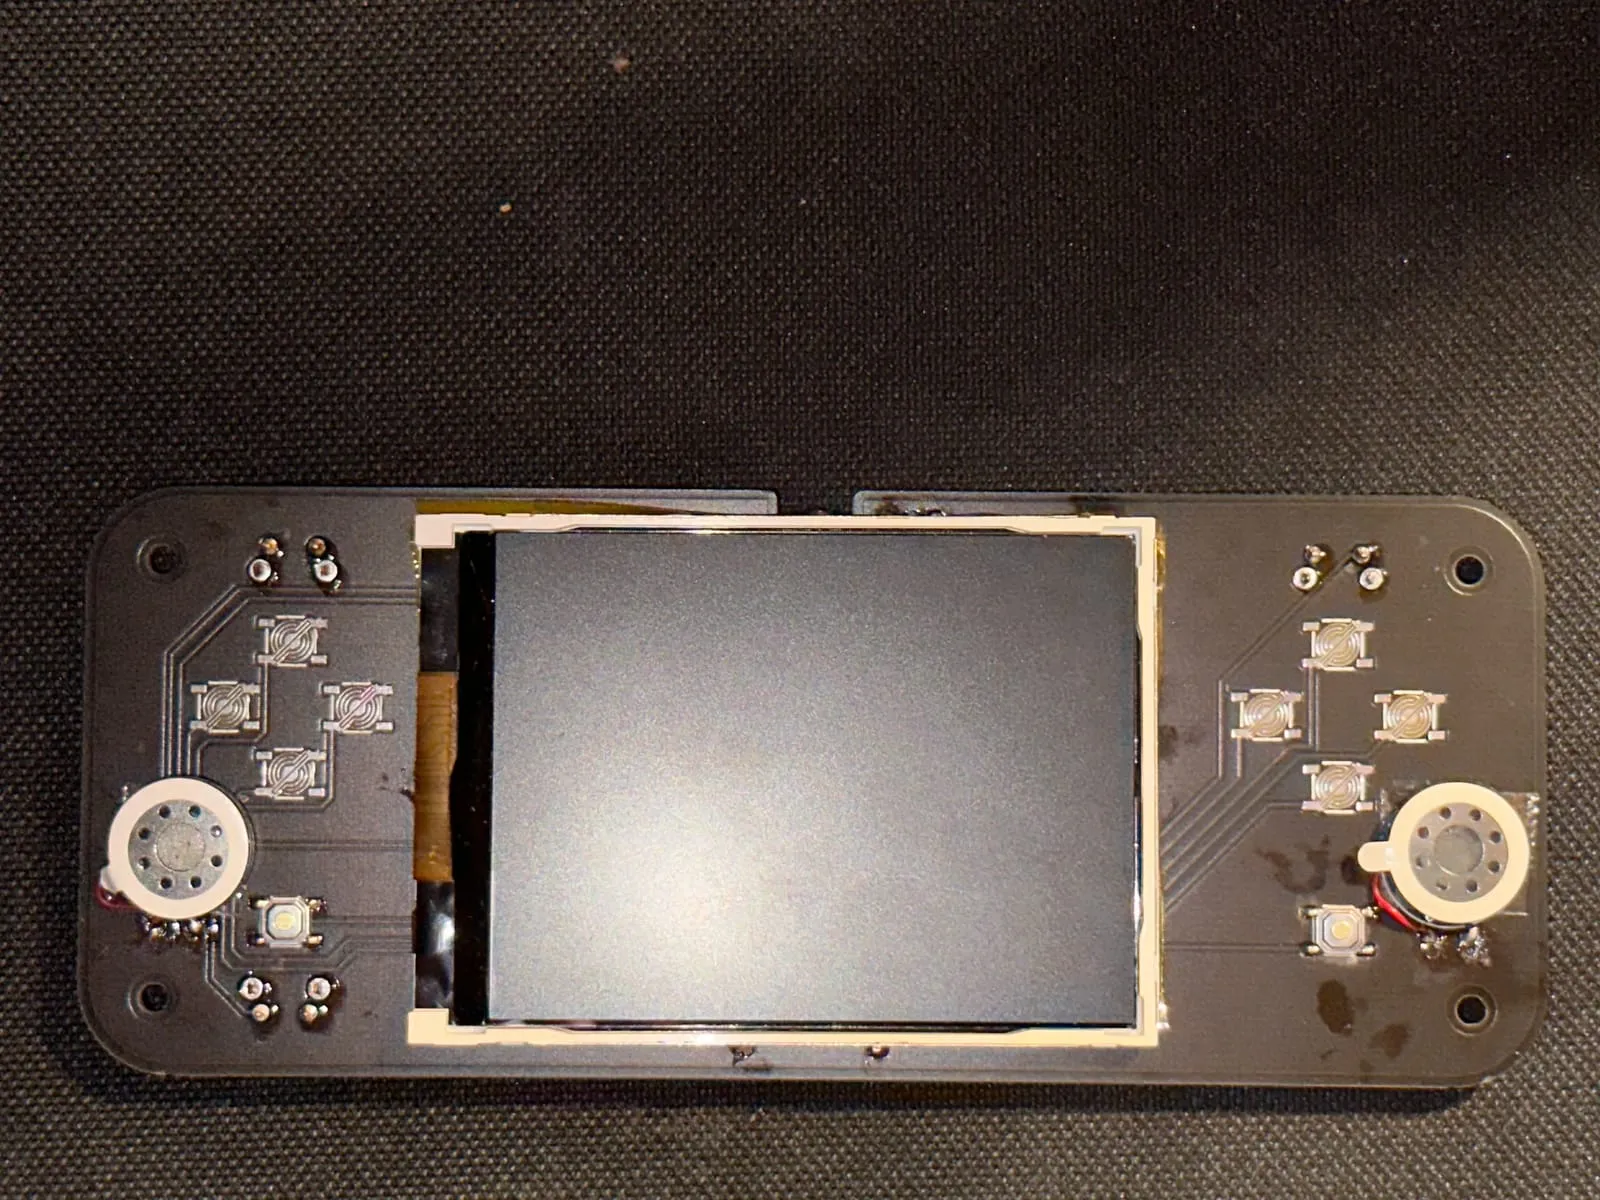
Building the case
The acrylic case that can be made for the kit requires a special adhesive to glue together. Of course, I spilled this glue all over my counter tops, but in the end we got it done — with quite a few glue stains.
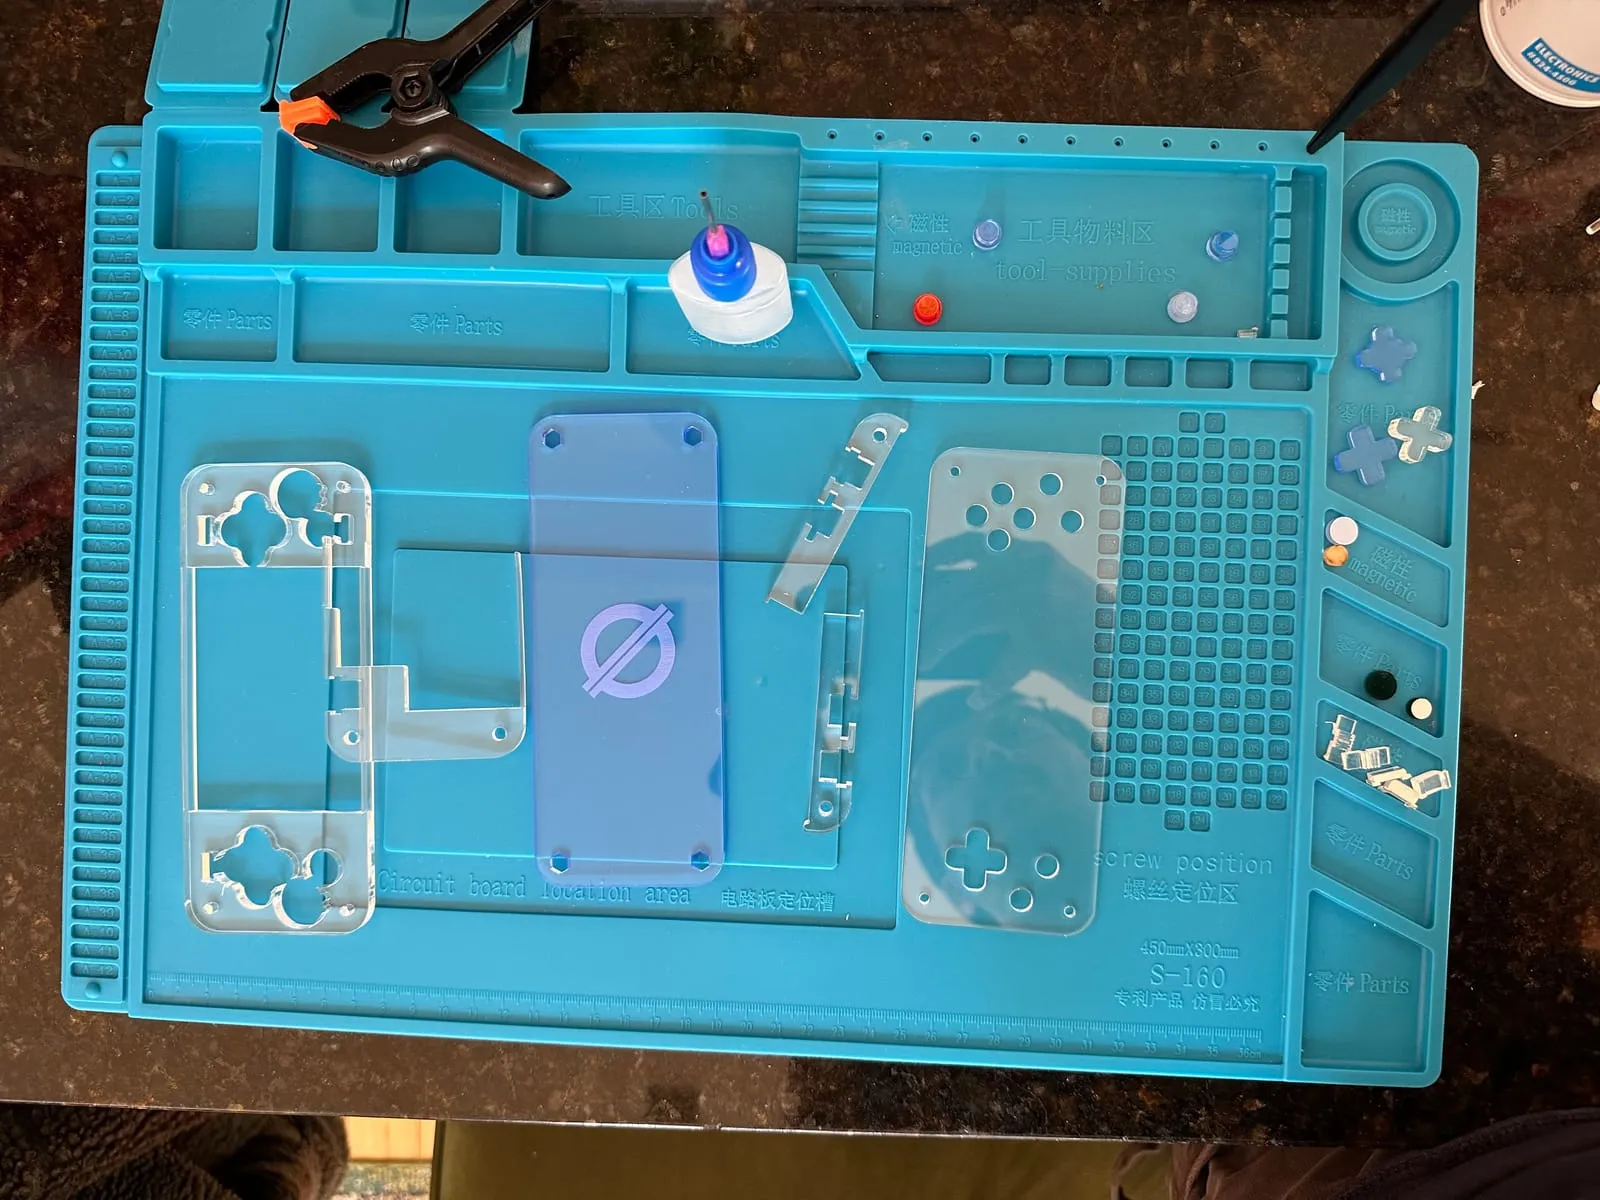
The back panel needs to be glued to the button holders.
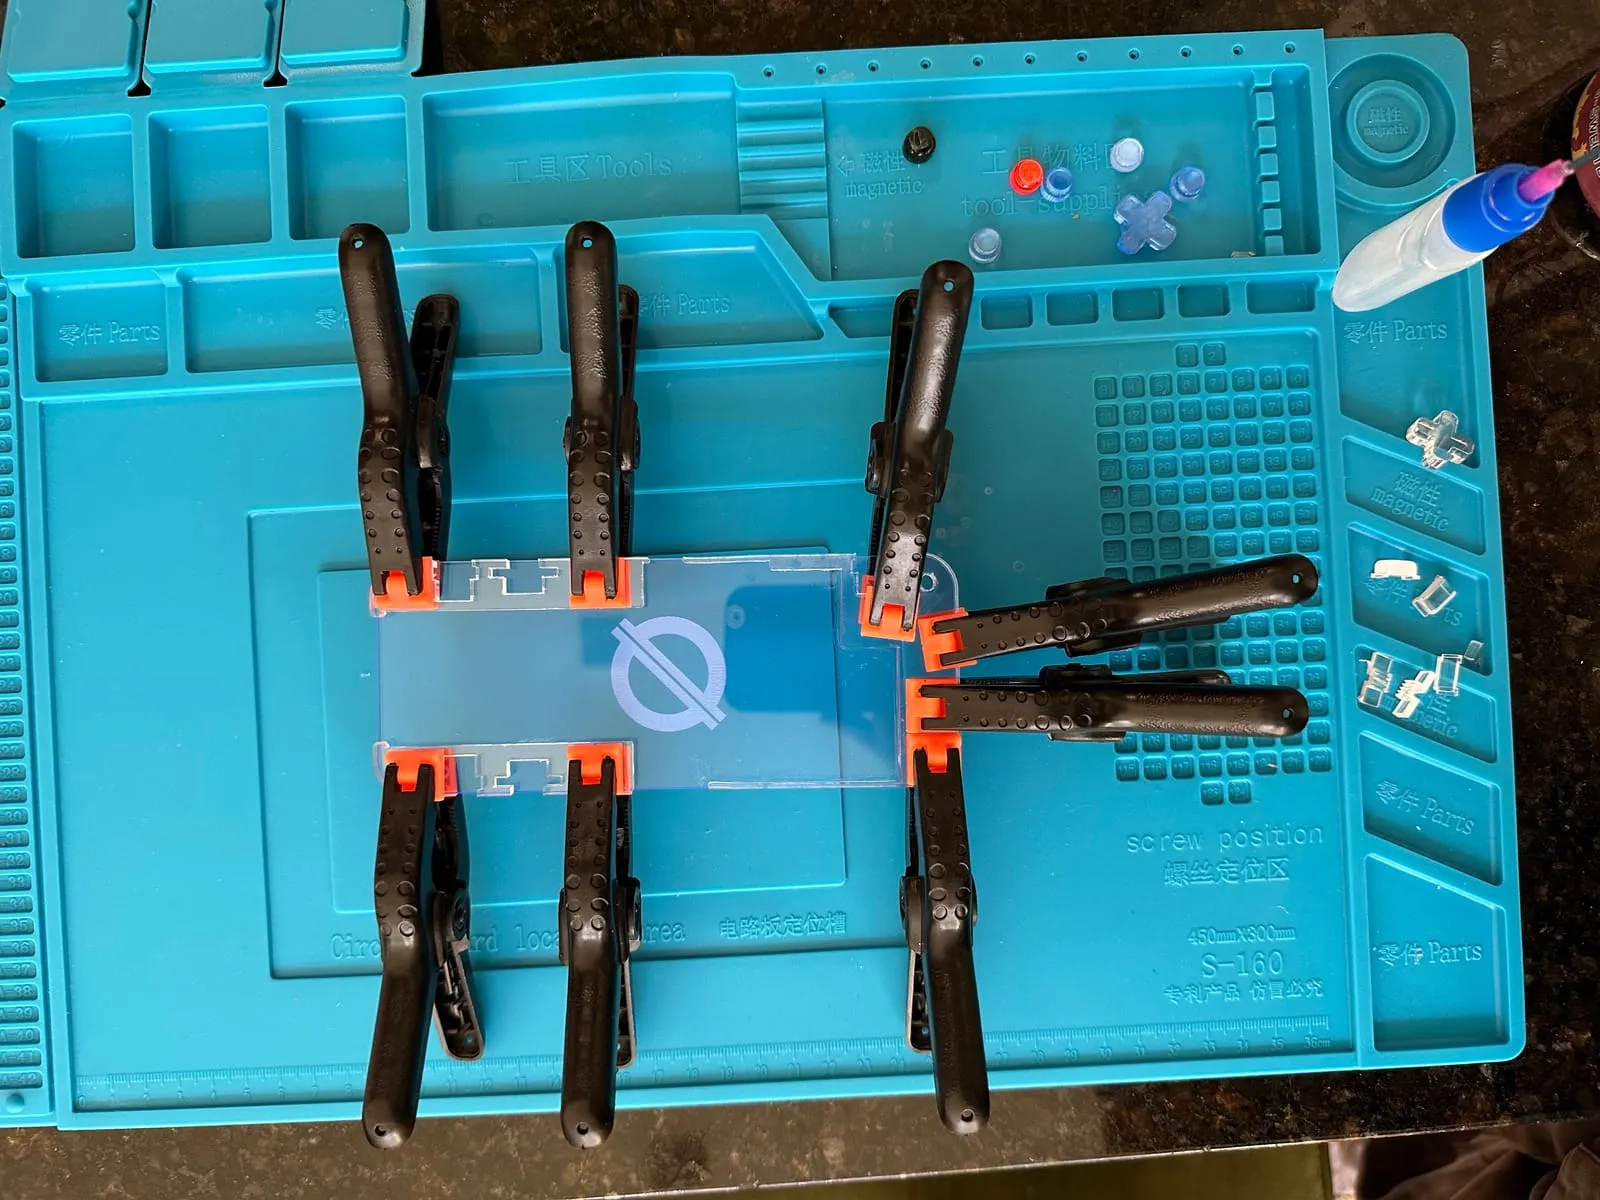
Drying overnight.
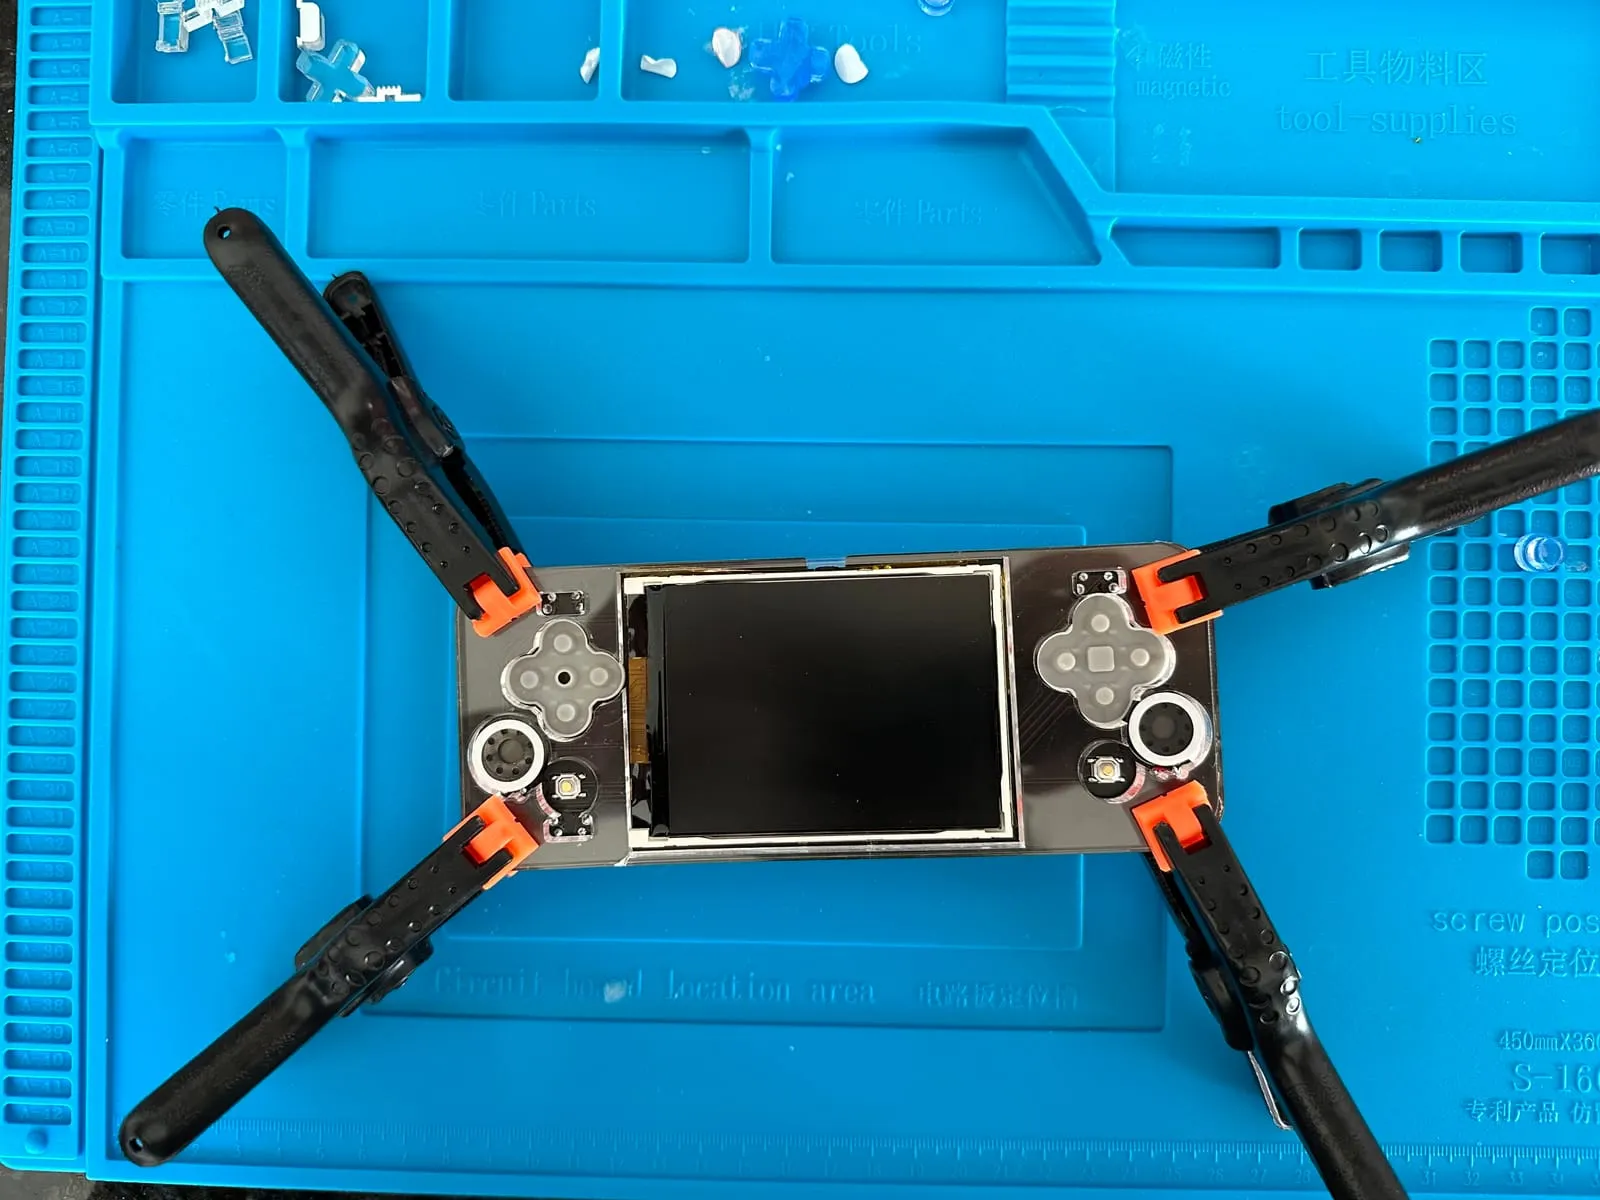
Finished
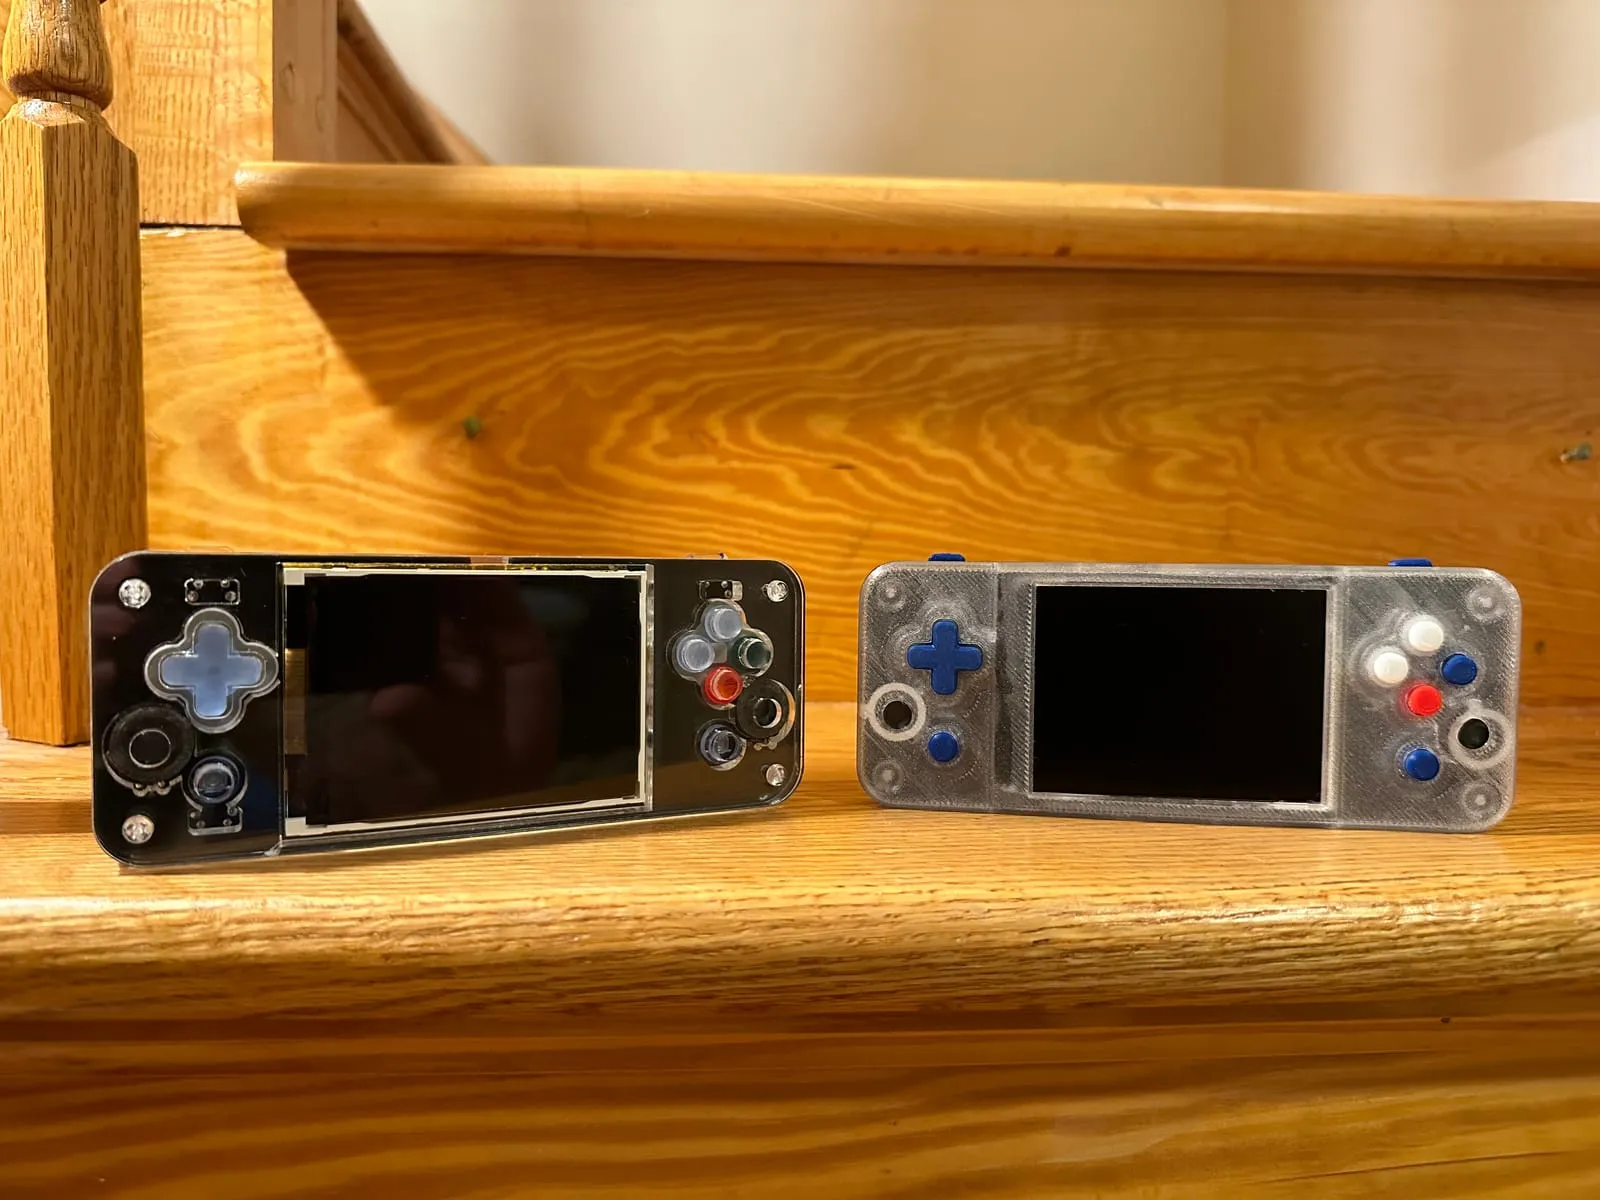
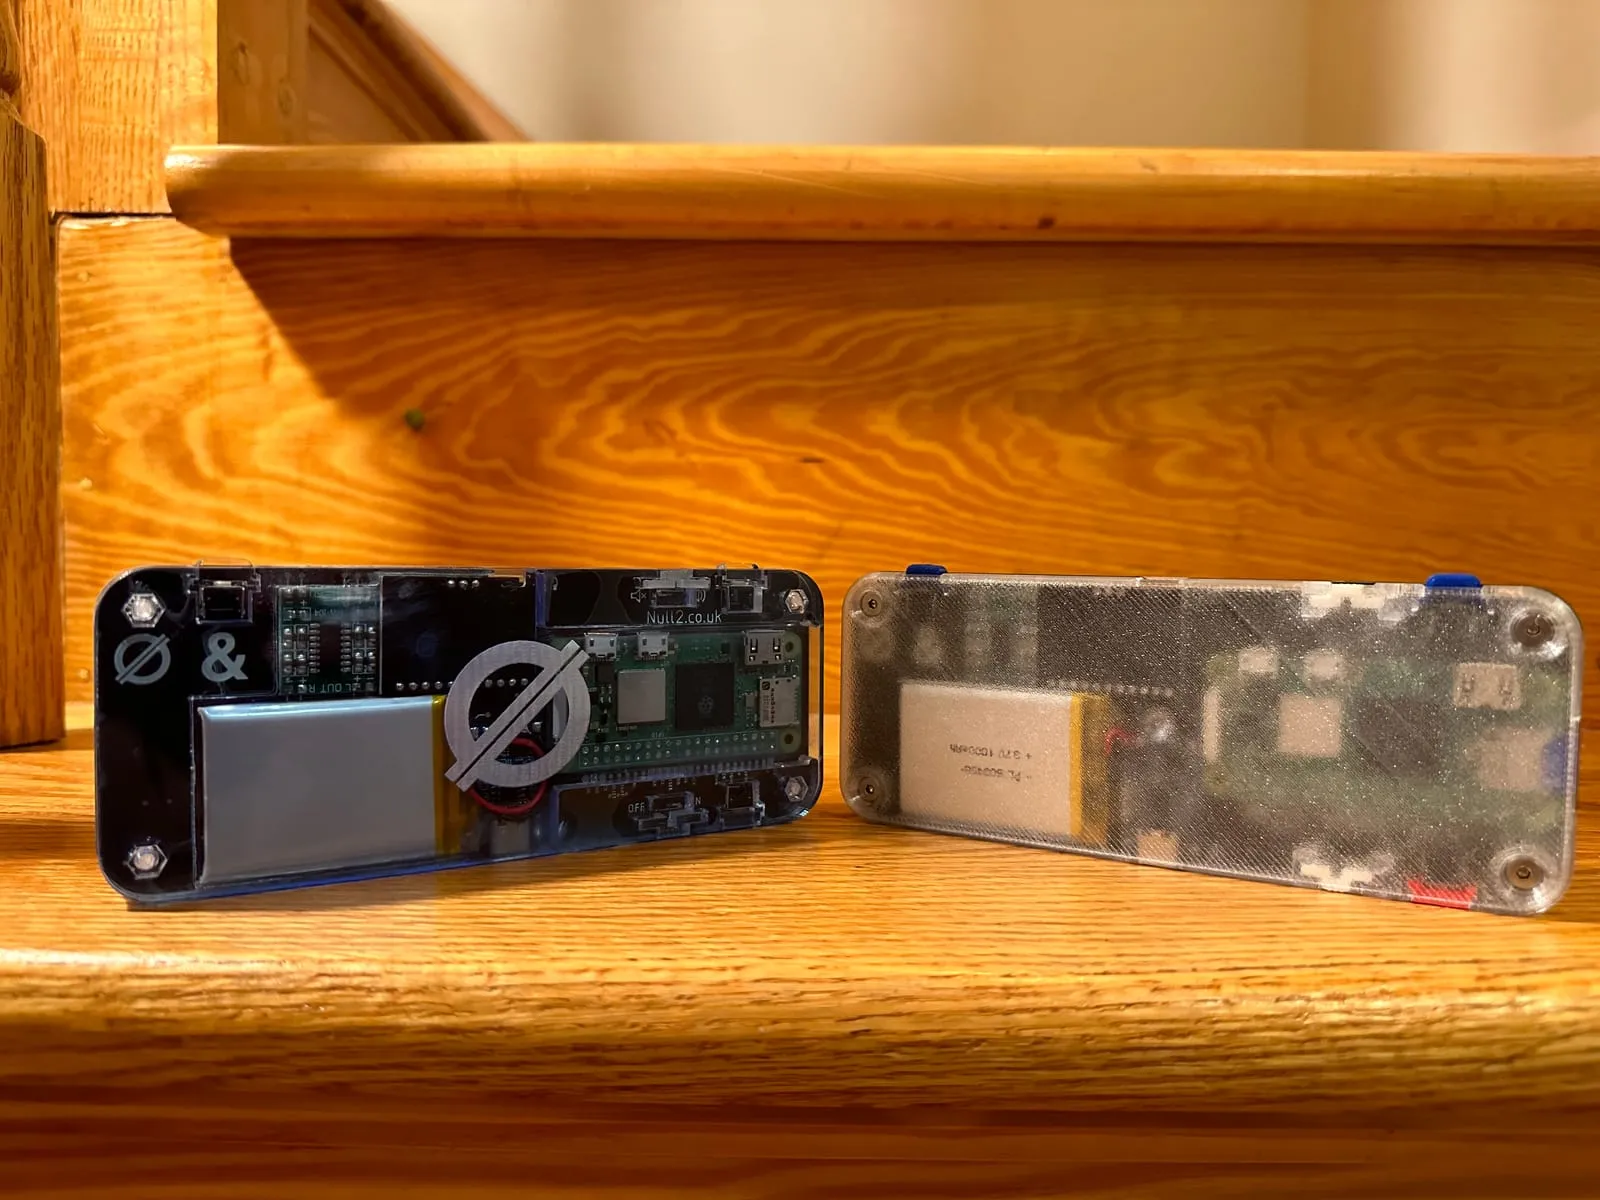
I ended up 3D printing a case in clear PETG. The acrylic is obviously clearer, but I like the toy-like design of the 3D printed one. It feels nicer in the hands and is a bit lighter and smaller.